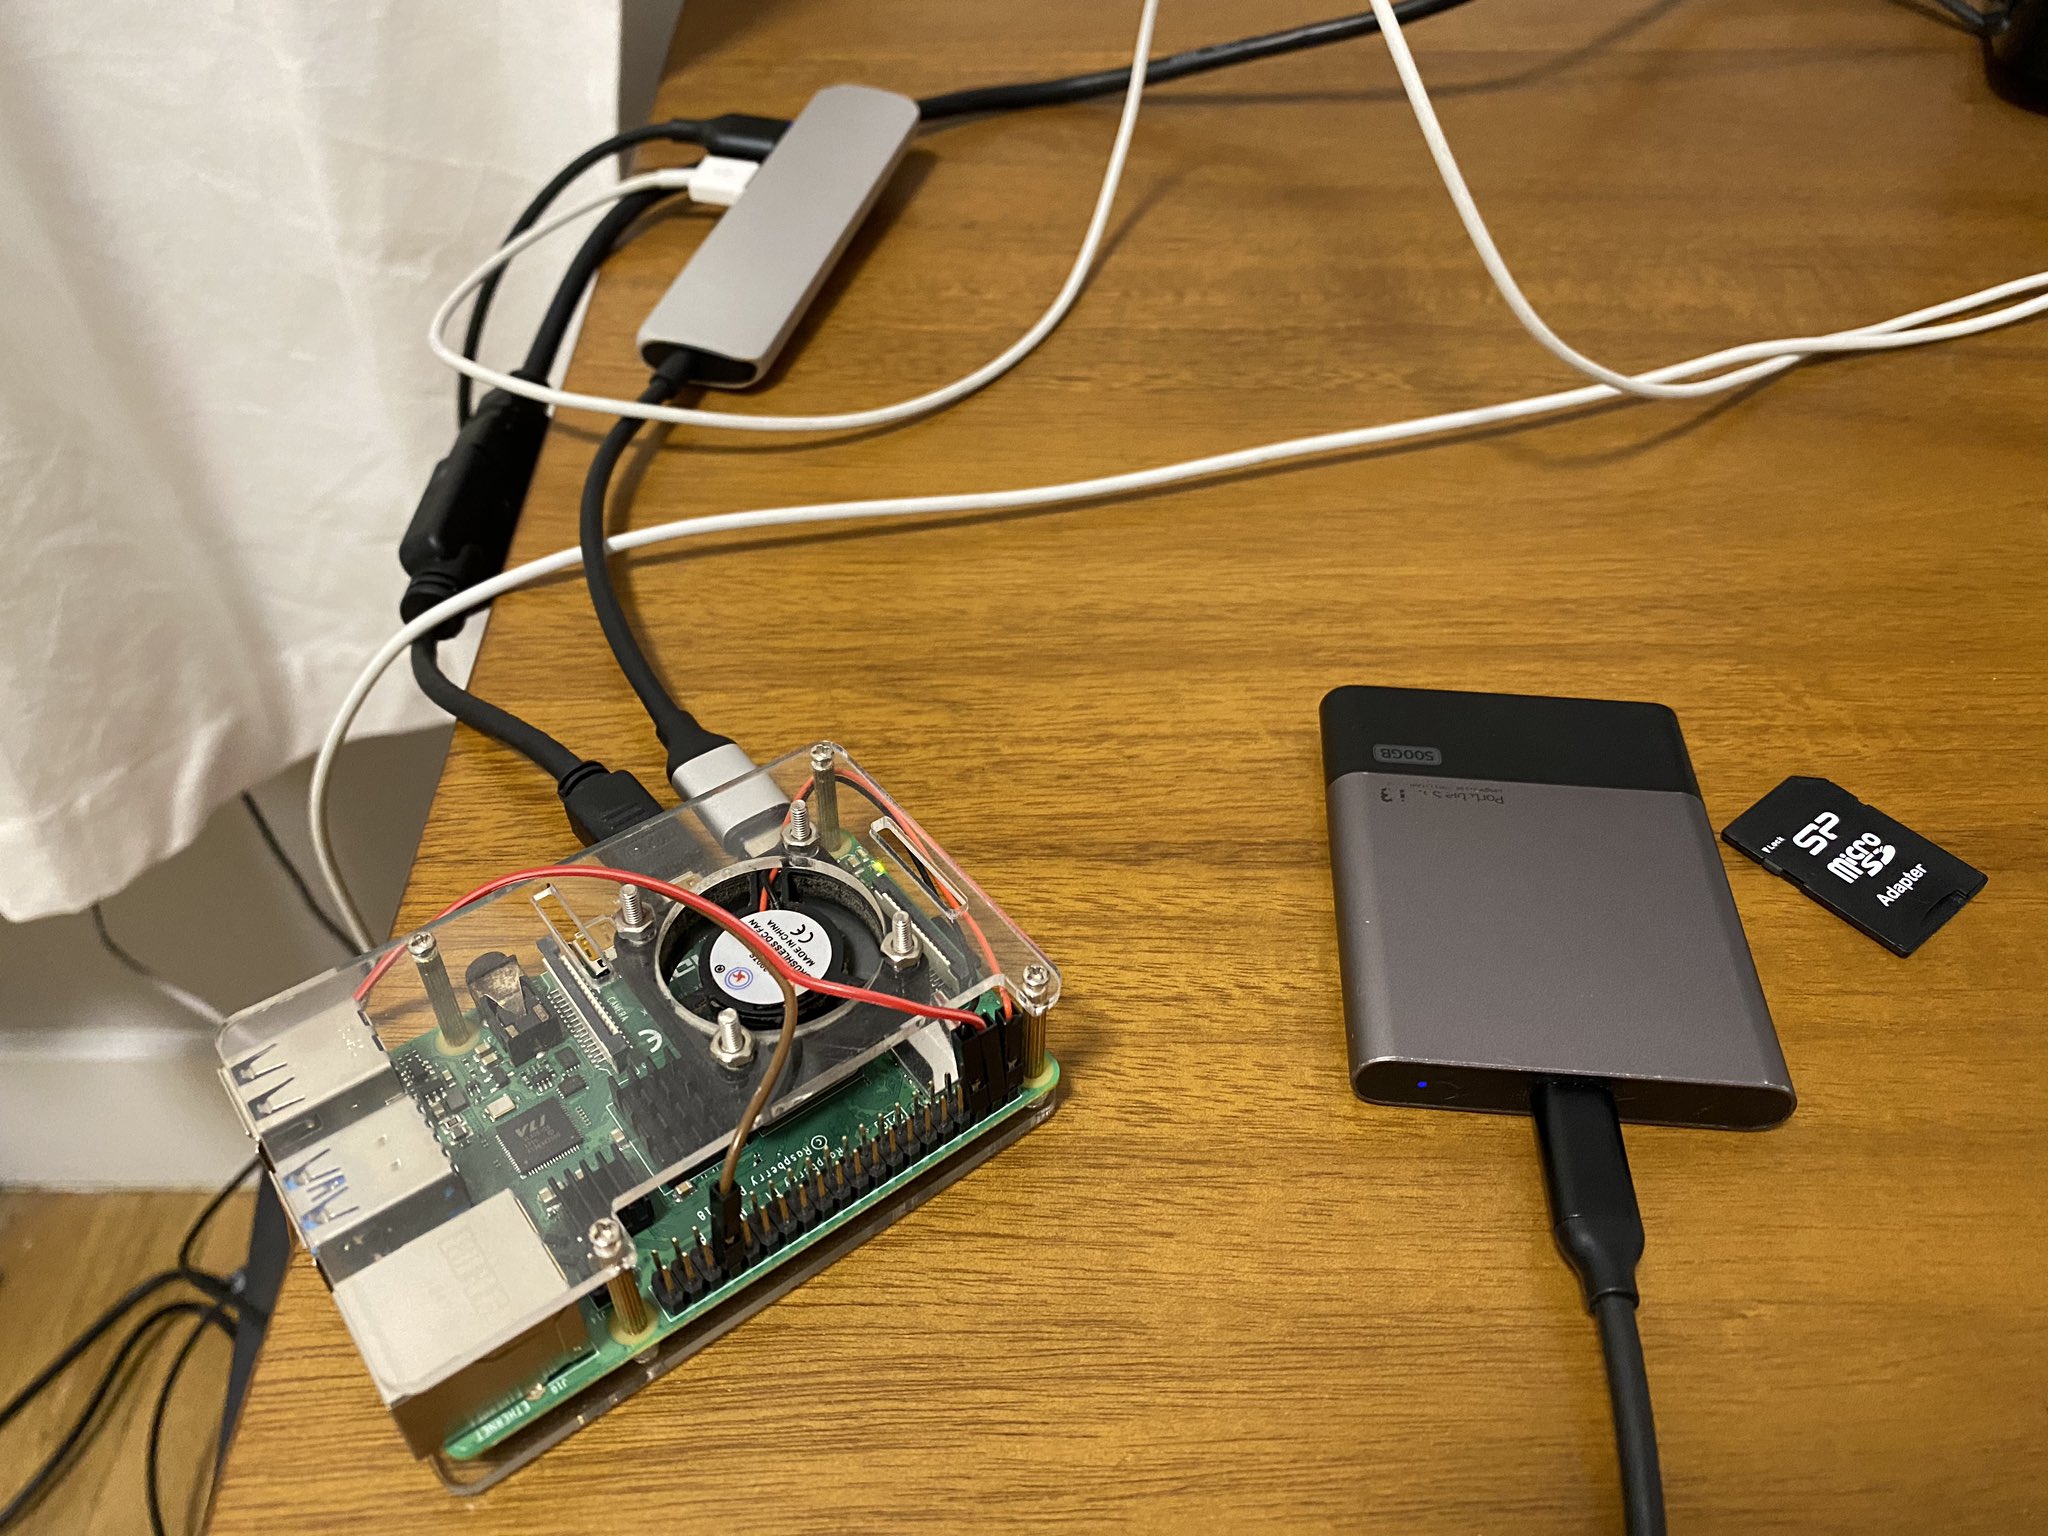
{Hardware needed}
microusb or usb c otg cable that can also provide power to raspberry pi,
(This is because currrent UEFI (v1.0) limitations.
Future uefi version Above 1.0 might let us use other usb ports.)
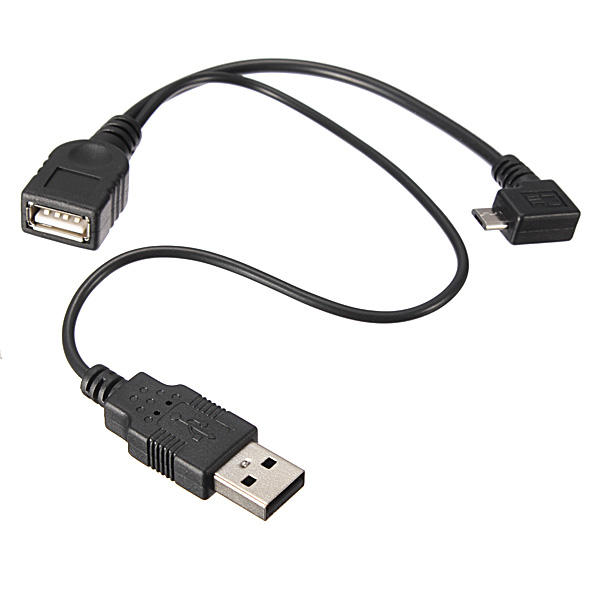
if microusb is used then you also need usb c to microusb adapter. Any otg + power cable will be good enough.
usb hub,
mouse,
keyboard,
microsd card and usb storage device,
RPI 4B,
RPI 3B - capable of usb boot (boot raspbian from microsd card with program_usb_boot_mode=1 in config.txt once) 3B+ doesn’t need this.
microhdmi cable,
power supply,
{Guide}
Download newest UEFI firmware from https://github.com/pftf/RPi4/releases and extract it to FAT32 formatted microsd card.
I have downloaded build 17134 but you might use any other as I have no idea if any of them are compatible. Any build that passes OOBE on RPI3 should be fine I guess.
Download windows 10 installation files for arm64 from https://uup.rg-adguard.net/ (Download ISO compiler in OneClick! (run downloaded CMD-file) or https://uupdump.ml/ (Download using aria2 and convert)
It will generate a ISO file but we only need install.wim from sources folder on the ISO.
Use WoR (windows on raspberry)(https://worproject.ml) to install 17134 into an usb storage device. GPT needs to be selected. //I only tested 17134 build.
open second cmd window administrator.
diskpart
list disk -This will display all of the disks connected to windows remember the number of the usb drive you are using. (look at storage size)
select disk ? - replace ? with a number of your usb disk
select partition 1
set id=ebd0a0a2-b9e5-4433-87c0-68b6b72699c7 (normal) if you need to edit edit bcd.
assign letter T
switch to first cmd window where dism was used.
bcdedit /store T:\EFI\Microsoft\Boot\bcd /set {default} recoveryenabled no
bcdedit /store T:\EFI\Microsoft\Boot\bcd /set {default} truncatememory 0x40000000 //only needed on a 2gb or 4gb rpi4 boards and may not be needed if on uefi above 1.0.
switch to second cmd window where Diskpart was used.
remove letter=T
set id=C12A7328-F81F-11D2-BA4B-00A0C93EC93B (efi-esp) to make it bootable again.
Close all cmd windows.
Safely remove microsd card and usb drive from your pc.
insert microsd card into Raspberry pi 4 and usb drive into Raspberry pi 3.
change UEFI settings to it will always use USB as 1st boot device instead of UEFI shell. Check if CPU is set to max in Raspberry pi Configuration under Device Manager.
Finish OOBE on raspberry pi 3. Once done shutdown rpi3 then connect USB drive back to your pc.
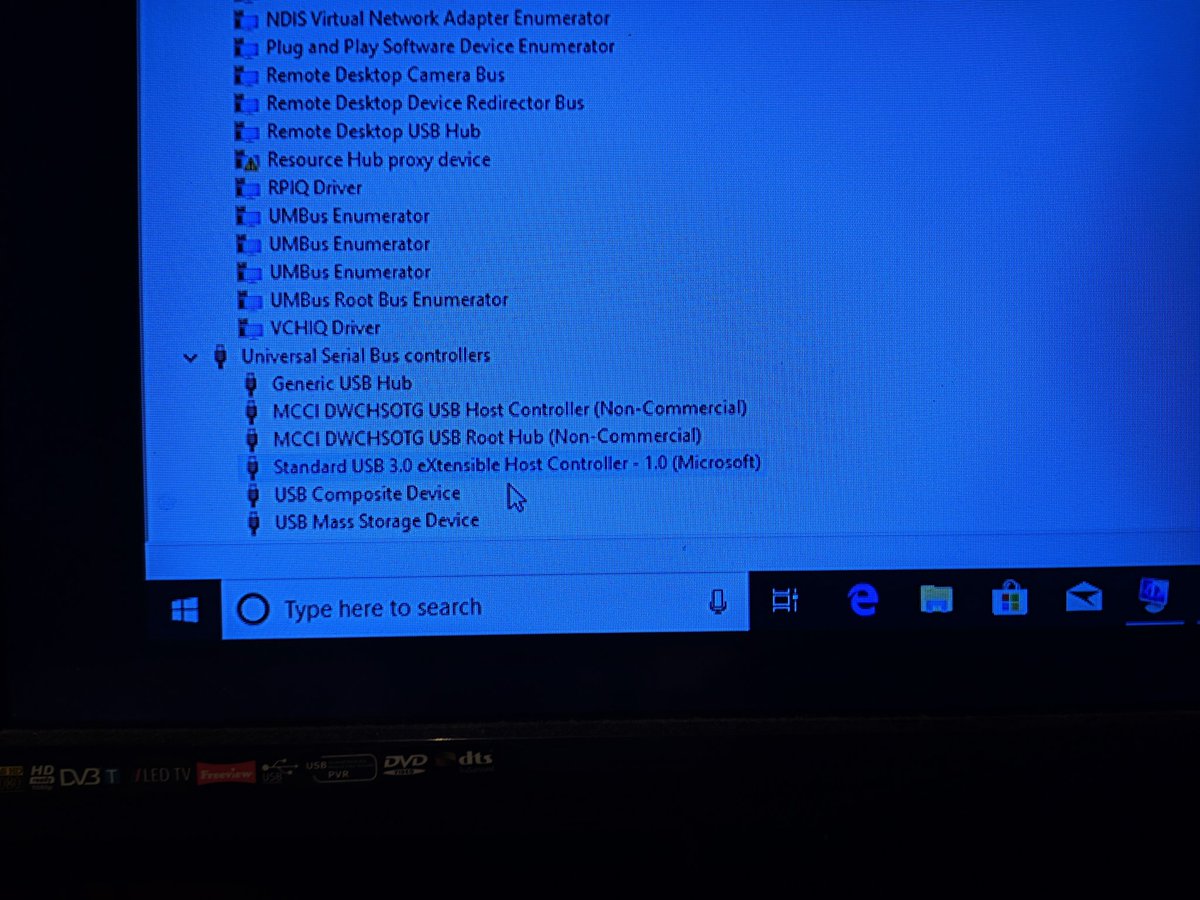
Then remove drivers for lan7800, lan9500, SerPL011 and bcmauxspi devices. I used dism++ (https://chuyu.me)for this because having using gui was better than any other method.
Safely remove microsd card and usb drive from your pc.
Finally usb can be inserted into the type-c on raspberry pi 4. This port also provides power so good luck.
change UEFI settings to it will always use USB as 1st boot device instead of UEFI shell. Check if CPU is set to max in Raspberry pi Configuration under Device Manager.
Remember that only type-c port works corretly so you will have to connect usb drive to it somehow.